There are many fireplaces or propane stoves inside of homes, but nothing compares to relaxing build by a fire pit in your backyard at night.
If the fire pit is secure, unwinding in front of the garden might be the ideal way to cap off a hectic day.
People have enjoyed the smell of burning wood and the sputtering sparks for millions of years.
Nothing beats a cosy campfire in the winter months.
On chilly summer nights, a fire pit is a perfect place to grill up a meal of hot dogs.
Of course, a fire pit doesn’t have to be anything more complicated than a hole in the ground with some stones thrown around it.
8 Steps to Build a Fire Pit in your Backyard:
1. Find a Good Place and Mark the Area:

Place the firepit far from the home and any flammable objects, such as trees and fences.
Additionally avoid any type of fan intakes, air conditioning units, and frequently opened windows.
Find the location of your centre, bury a stake there, and tie a string to the stake that is long enough to measure the radius of your perimeter.
Holding the can of spray paint at the end of the thread, paint a circle around the focal point.
Your digging area will be in the inner section.
2. Excavate the Foundation:
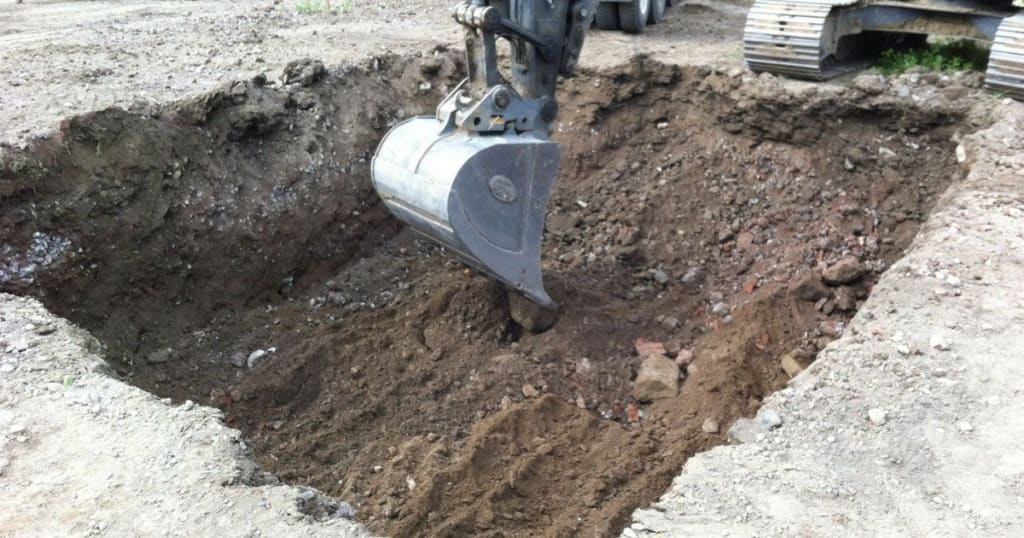
Dig out that spot down approximately two inches with your shovel.
Since turf extends about 2 inches into the ground, removing the turf alone is adequate.
When in doubt, use the bubble level to determine whether the surface of the dugout needs more soil added or subtracted.
3. Add gravel for drainage:

Fill your dugout area with the 14″ drainage gravel after loading it into a wheelbarrow or garden cart.
Spread evenly, then double-check the level.
Add extra gravel as necessary and smooth out with a hand tamper.
4. Set the Initial Block Level:

First, put the block in the ring.
Ensure that it rests level front to back and side to side using a 2-foot level.
Use a rubber mallet to knock the block down if it is too high.
If it’s too low, raise it a little bit with a patio base.
Before continuing to build a fire pit in the backyard, make certain that the first block is exactly level and situated correctly in the trench.
For the first layer, 18 of the retaining wall blocks will be broken up and used.
After placing the ring insert, place the first 18 bricks around it.
To complete laying the blocks, raise the insert and set it aside.
5. Set Blocks for the Second Level:

Next to the initial block, place another block.
Line up the front and back edges before tightly butting the sides together.
Level the second block from front to back and side to side using the previous block as a guide.
Lay the remaining blocks in the trench in a similar fashion until the ring is finished and every block you previously counted has been used.
Before moving to the next block, make sure that the previous one is absolutely level and tightly positioned next to it (To move the last brick into place, you might require the use of a mallet).
Periodically check the level across the ring with a 4-foot level.
Work carefully and gently, block by block.
A small mallet blow can produce a significant change.
6. Stick the Blocks:

Pick up 2 blocks at a time, put glue and keep going around to maintain your shape.
Use the caulking gun’s built-in piercing tool to pierce the end of the landscape adhesive tube after cutting off the tube’s end (through the nozzle).
The caulking gun should be fitted with the landscape adhesive to build a fire pit.
On the first row of the block’s top, apply a thick bead of adhesive.
Apply a thick bead of adhesive around the first row of the blocks’ top.
Avoid going overboard so that glue doesn’t leak out the sides.
It’s not as necessary as you might believe.
7. To finish the installation, add a layer of gravel on top of the sand:

After placing the final two rings of blocks, fill the hollow with four inches of crushed stone.
Before starting your first fire, let the adhesive dry for around two days.
Then, let it burn, darling, let it burn!
8. Add a bowl or insert for a fire pit, if required:

Your fire pit can be built using retaining wall bricks and will function perfectly, but after you’ve finished, you might wish to add a steel fire ring.
As a result, avoiding them from drying out too soon will increase the lifespan of your blocks.
You might discover that you also like the way the steel ring looks!
Fire Pit Build Safety Tips:
- To construct a fire pit, avoid using ordinary bricks.
- They can crumble and deteriorate or might explode if trapped gases and water are present.
- Don’t construct your pit’s foundation out of river rocks.
- They also may contain explosive moisture.
- If at all feasible, bring along a helper when you’re constructing your pit.
- It’s helpful to have someone around who can provide first aid if a hefty block falls on your foot or if you get carried away using the rock chisel.
FAQ- How to Build a Fire Pit in Your Backyard?
Q1. How can I make a cheap backyard fire pit?
Building a fire pit out of locally sourced materials like stones from your property is the most affordable choice.
In any other case, acquire just enough fire-safe blocks from a home improvement store to construct your fire pit two layers high.
You ought should stay under $60.
Q2. Does a fire pit require air holes?
To guarantee that the fire has enough ventilation to burn for as long as possible, most fire pits require air vents.
It is possible to construct smokeless fire pits without an air vent, but it is crucial to make sure the fire pit has adequate ventilation to avoid the accumulation of carbon monoxide and other particular materials.
Q3. Can I just construct a fire pit with a hole?
An easy and affordable alternative to installing a fire pit in the ground.
Obviously, according to local laws, you perform all the labour and decide the size.
Simply digging the hole and planning to arrange the logs in the pit is required.
Conclusion:
The beauty and elegance of the backyard fire pit build There are many fireplaces or propane stoves inside of homes, but nothing compares to relaxing by a fire pit in your backyard at night.
As music and marshmallows create memories that everyone will enjoy forever, family and visitors are lured to the magnificent brilliance of the flames.
You’ll be the family star if you get a few tools and put in an afternoon of endorphin-releasing work!