The horizontal fence build enhances a landscape both visually and functionally.
In contrast to the conventional up-and-down vertical orientation, horizontal fences that run side to side offer fences a current, modern appearance.
It’s simple and easy for do-it-yourself to construct these modern-looking fences.
If you want to build a horizontal fence out of hardwood, Ipe wood is a popular choice and cedar is a less expensive softwood substitute.
Face nails are required to secure the fence boards in level, even rows once the posts have been appropriately spaced at about six feet apart.
You have two options: either butt them closely together with no room between the horizontal boards or leave a 3/8 to 1/4-inch space between the boards to account for the expansion and contraction of wood caused by weathering.
Basics to Build a Horizontal Fence:
Many components of a vertical fence are retained by a horizontal fence while others are removed and some dimensions are changed.
A fence that is built horizontally on a slope will need to be measured more precisely.
On sloping land, you can “rack” or “step” a fence by cutting the boards to match the slopes of the ground line.
Fence Rails and Posts:

Two fence posts are positioned in concrete about eight feet apart for a vertical fence.
To lessen the chance of sagging on a horizontal fence, the posts are moved two feet closer together and spaced six feet apart.
The boards between the fence posts are made more durable by horizontal fencing rails.
On horizontal fencing, the rails are concealed because they are incorporated into the fence’s overall design.
You can also construct separate frames inside each post segment to provide the horizontal fence boards with more support.
Over time, frames assist prevent sagging or drooping.
Fence Boards:

For vertical fences, 16 fence planks per 8-foot section are attached vertically to stringers.
These fence boards should be 90 degrees rotated to the side to create a horizontal fence.
Due to the narrower span, only 12 instead of 16 will be used.
There is no need to cut the fence posts as long as they are appropriately positioned.
The fence poles and the fence boards are face-nailed together.
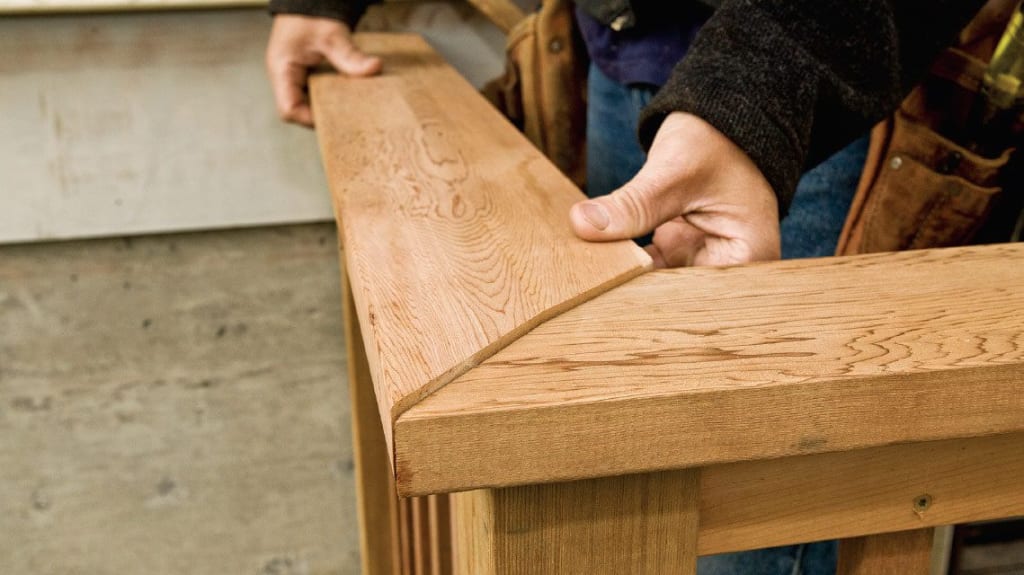
Trim (Optional):

It is not necessary to conceal the tops of nails.
However, you can place trim boards over the nails if you want to conceal them for a more finished appearance.
Fence planks may be used as trim.
Horizontal fences’ best wood:

Investing in high-quality hardwood fence boards is advantageous because horizontal fence boards tend to sag over time.
Hardwoods from Brazil or Indonesia such as Ipe, tigerwood, and coumarou are frequently used for horizontal fences.
The most affordable technique to construct a horizontal fence is to use softwood as your construction material.
Ipe hardwood panels are only used for fence boards, costing between $280 and $350 for each 6-foot by 6-foot panel.
For the same area, Western red cedar, a softwood, costs between $30 and $60.
If they collect water for a prolonged period, softwood fence planks are prone to sagging.
For vertical fences, some softwoods can be left untreated, but they need to be sealed for horizontal fences.
Softwood fence planks can be preserved with routine sealing.

Steps to Build a Horizontal Fence:
Make a design plan:

Horizontal fencing frequently comprises planks that are hammered into place and spaced uniformly apart.
Thoughts outside the box are welcome, even though that is a fantastic aesthetic.
Use boards of various widths, or even alternate them in a pattern.
We created a special pattern out of one-by-twos and one-by-sixes to build the fence we are constructing today.
Find a style you prefer and draw up a plan that works by looking at the fences in your neighbourhood or doing some research online.
You must choose whether the fence boards will cross the posts’ faces or be slightly set back as you sketch up your design.
We decided to use the first technique, so as a point of reference, we snapped a vertical chalk line through the middle of the post.
Find the Fence:

The fence needs to be placed on a flat surface.
With stakes, indicate where the fence posts holes.
They must be positioned precisely 6-1/4 feet apart from one another.
Clean Up the Fence Area:
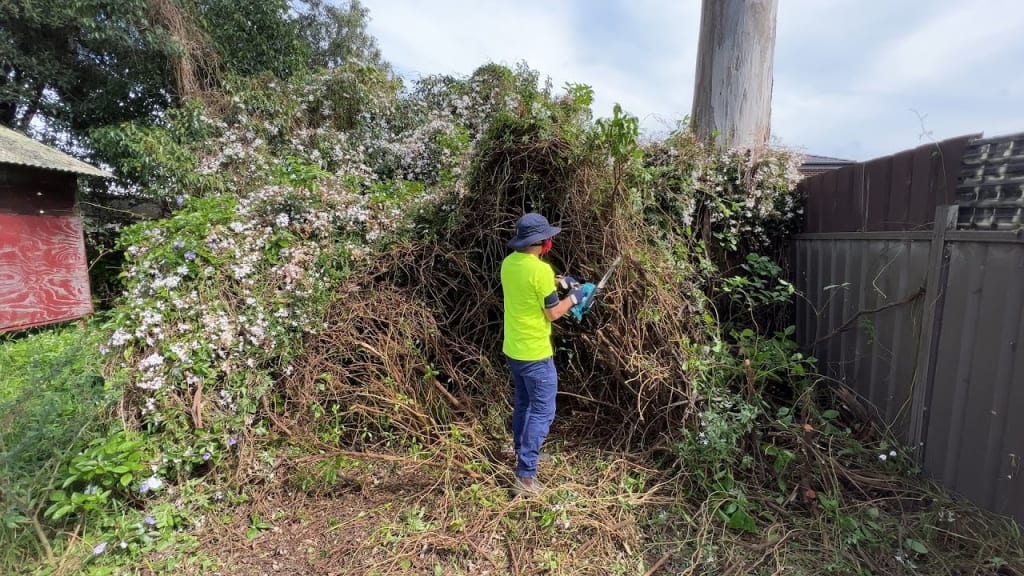
The area surrounding the fence needs to be open, flat, dry, and brush-free.
Utilize a rake to remove dirt and brush.
Shovel the ground to level it out.
Mark the location for the top rail:

Fence rails run between posts and give the fence section strength.
We build the top rail, which is concealed in our design on the underside of the top board, just below the top of the first horizontal fence board.
We installed our rail flush with the front face of the fence post board and on an angle.
Use a method that works for your design to attach yours.
Dig the Post Holes:

Prepare two holes for the posts using the post-hole digger.
The posts should typically be buried up to the depth required by your local ordinance, which is typically around 20 inches.
Add the concrete and gravel:

Fill each hole with six inches or so of gravel.
Insert the posts.
Dry concrete should be poured into the holes and packed tightly around the posts.
As directed by the concrete, pour water into the holes.
Allow the concrete 48 hours to fully cure.
Measure and cut the rails:
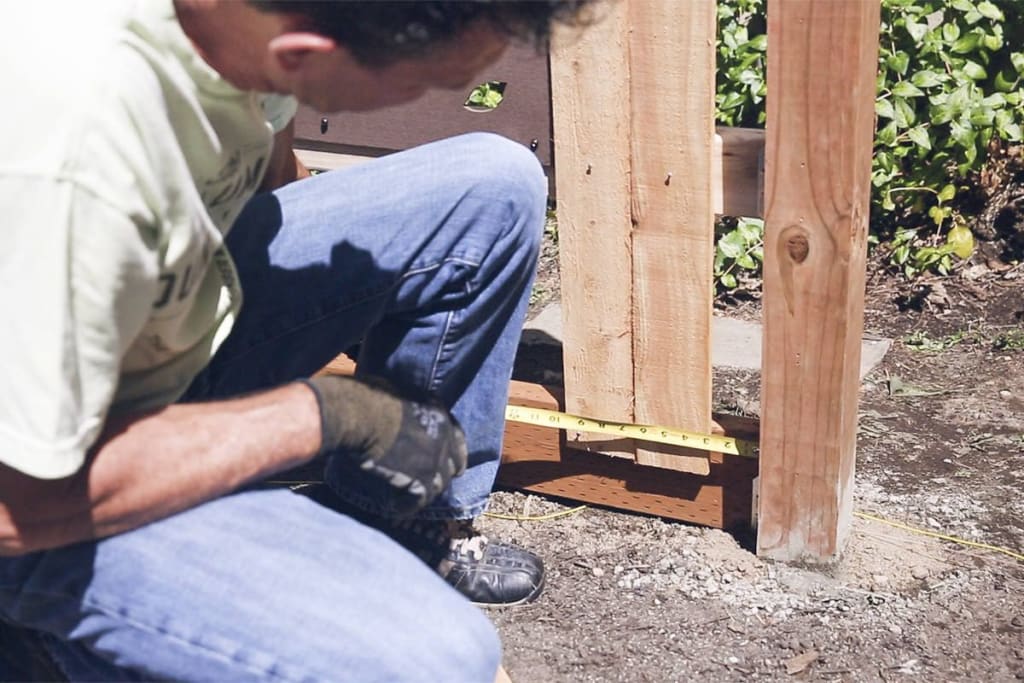
Then, cut your two-by-four rails to a length just a little bit less than the measurement between the posts at the heights noted.
You will need to cut the rail a little bit shorter than you would if you were using nails or screws if you’re using fence clips.
Glue the top rail to the post:
After your rails have been cut to the proper length, secure the top rail to the post using screws, nails, or fence clips.
If you’re using nails or screws, a few fasteners should be inserted at an angle through the end of the rail and into the post.
Build a horizontal fence is often made simpler by the use of fence clips, which are metal brackets that are first affixed to the post and keep the fence rail in place.
Finish the remaining boards:

Maintain a 1/8-inch gap between the fence planks as you go downward.
Regularly check the level and make any adjustments.
If the bottom board won’t fit, cut it lengthwise.
An alternative to cutting is to dig up enough dirt to hold a full board.
Add optional trimming:

Increase the number of fence boards from 12 to 14 if you wish to add trim, and then use two of the remaining fence boards for trim.
Place the trim vertically on the fence posts to hide the nail heads in both rows.
Seal and Stain the Fence Boards:

The fence boards should be sealed and stained if desired.
Repeat for each section:

After completing the first section, proceed to the next and repeat the procedure.
You might decide to use a vertical one-by-four to conceal the joint where the boards from adjacent sections meet in the middle of the fence post.
We like it since the board hides any imperfect joints and attractively breaks up the barrier.
By doing this, your eyes will be less likely to detect boards that are not parallel.
Insert post caps:

After completing your fence, add a post cap to give it a polished look.
You may select a post cap that matches your design thanks to the wide variety of styles and types available.
There are countless possibilities including ones made of glass, wood, copper, or other metals, as well as those with built-in solar lighting.
Select that most closely resembles you, then relax and take in the extra seclusion and lovely appearance of your new horizontal fence.
It’s an excellent approach to spruce up your property’s border!
FAQ- How to Build a Horizontal Fence:
Q1. Are horizontal fences less expensive?
Due to the need for stronger wood to prevent drooping, horizontal fences are typically more expensive than vertical fences.
However, they could sag over time, just like any board that is horizontally oriented.
Q2. Are gaps required for horizontal fences?
Small gaps between horizontal boards are typical for horizontal fences and have an impact on the fence’s final look.
We’ll often employ gaps between 1″ and 1.4″.
We advise utilizing a tongue and groove board if you don’t want any spaces between the boards.
Q3. What kind of fence is the least expensive?
Treated pine is frequently the most reliable and cost-effective alternative to wood.
The priciest sorts of wood for fences include redwood, teak, and cedar.
The most expensive fence materials include vinyl, wrought iron, brick, and stone.
Conclusion:
We had discussed to build a horizontal fence made of horizontal boards (We are aware that the fence runs vertically to the ground).
A DIY horizontal fence is a terrific way to acquire a little seclusion while improving the curb appeal of your home.
Horizontal fence installation is a little more complicated than constructing a vertical fence, but the additional bit of effort and attention pays off.