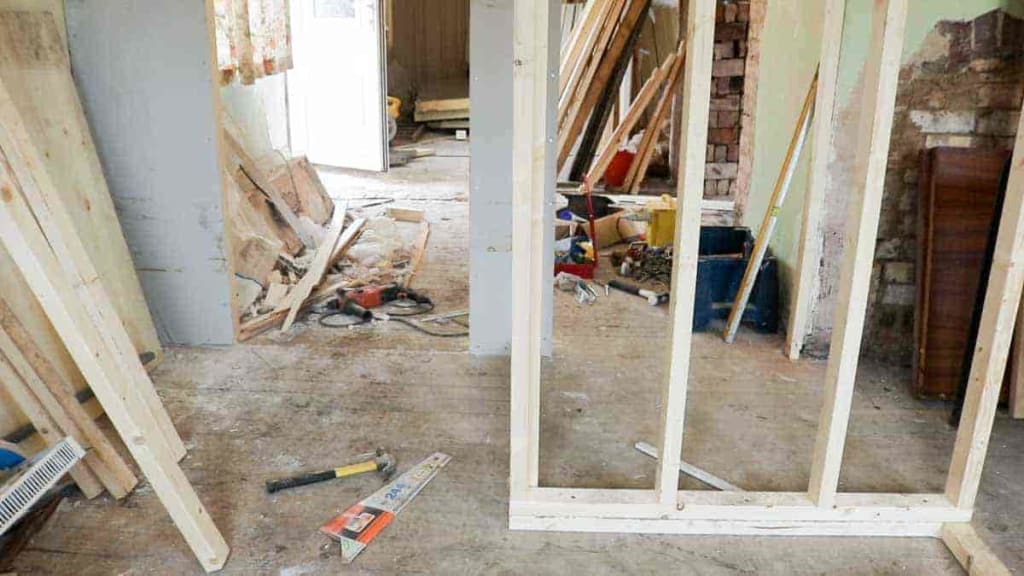
If you want to build a partition wall instead of a conventional stud wall, our tutorial explains the numerous techniques you might choose.
Anyone looking to divide their home into more private or calmer areas or to divide an open floor plan will find that learning to install a partition wall is very helpful.
Many DIYers decide to tackle the task themselves because partition walls are typically pretty simple to build.
In addition to being quite quick and affordable, this kind of wall is helpful if you want to quickly combine wiring, soundproofing materials, and insulation.
This article will talk you through the steps involved in the most popular partition wall construction methods.
We also go over some of the additional options, such as solid walls and moveable room dividers that you can divide up your project.
How to Build a Partition Wall Using the Stud Wall Route?
Constructing a stud wall is among the first considerations for anyone planning to create a new internal partition in their home.
Stud walls are quick and reasonably easy to construct, and allow you to conceal wires and pipes inside their framework, making them perfect for suspending sanitary items from the wall.
Before beginning to construct a stud wall, gather the required tools as follows:
- Saw.
- Hammer.
- Nailgun (optional).
- Spirit level.
- Pencil.
- Workbench.
- Square.
- Large-bladed filler knife.
You’ll also need to purchase the supplies for the wall itself, which typically include:
- Plasterboard.
- Studwork timber.
- 100mm countersunk cross-head wood screws and nails.
- Jointing tape.
- Sharp knife.
- Joining compound.
Make a plan:
This is our wall design in a nutshell.
The bottom and top plates are supported by three horizontal boards, eight studs, and metal plates.
The garage ceiling was just over 8 feet tall, thus an additional top plate was required to account for the higher ceiling.
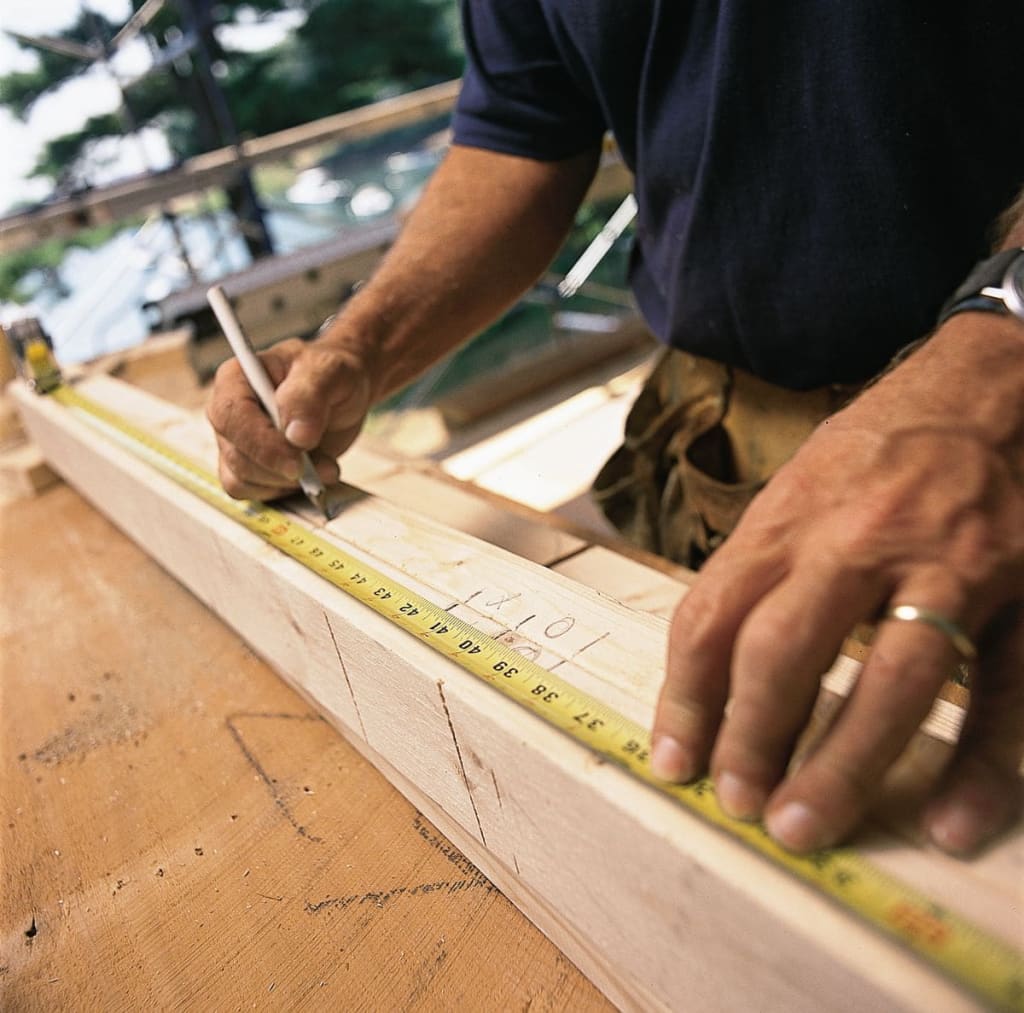
Determine Placement:

After choosing the location to build a partition wall, we cut the baseboard to make the 2×4 sit flush on the side wall.
Due to the presence of a stud in the old wall that would aid in supporting our new wall, we selected this site.
Securing the Base Plate:
After cutting the board to the appropriate size, we painted the positioning on the floor and tagged it with painter’s tape.
We drilled through the 2×4 and into the concrete below using a rotary hammer and speciality bit.
The concrete and wood dust had to be continuously swept out for the screws to be entirely put into position.
The Tapcon screws may be successfully drilled in with the help of an impact driver.
Just in case we ever decided to take down the wall, we utilized Tapcon screws.
Other anchor techniques are long-lasting:
The bottom and top plates were stacked on top of one another before fastening the top plate to indicate where the studs should go.
The studs are spaced 16″ apart, therefore when you measure the distance between the centres of the studs should be 16″.
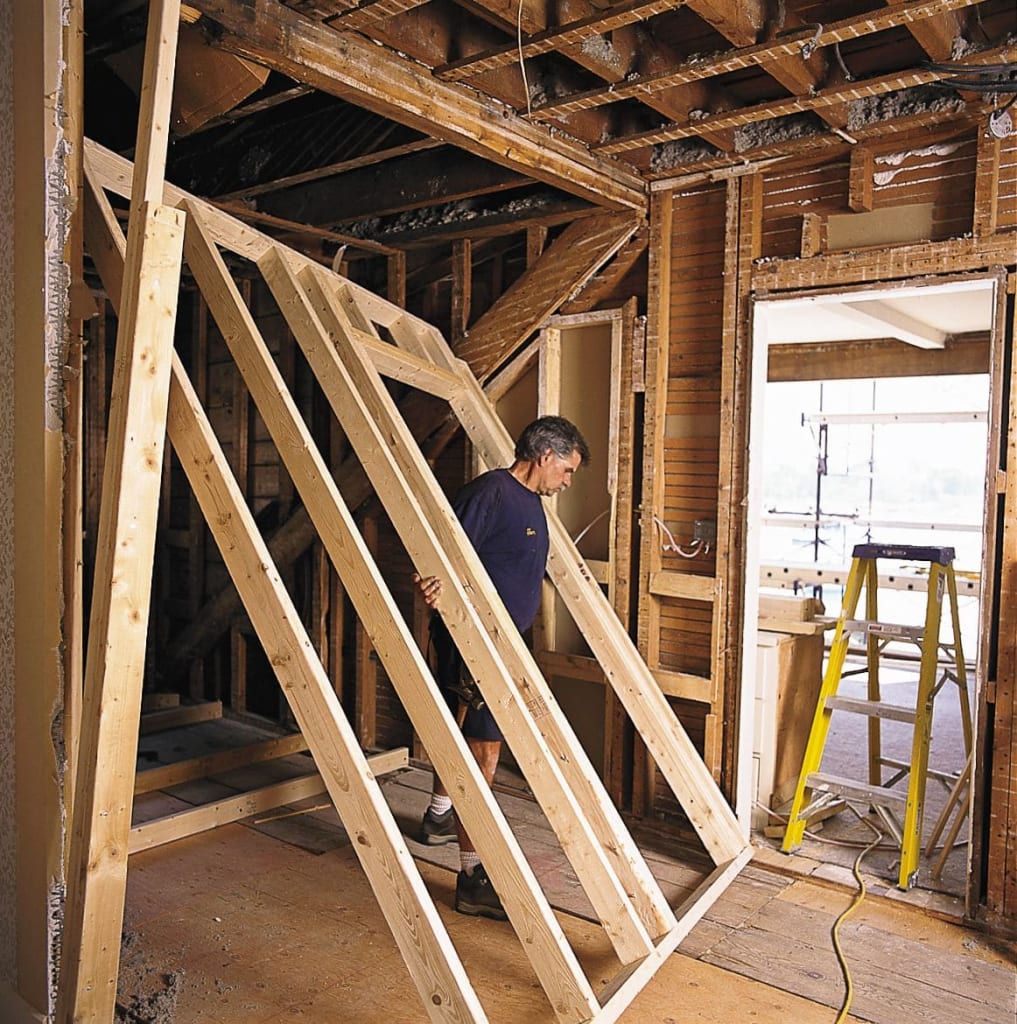
Add Ceiling Supports:

We were fortunate enough to be able to tie into an existing wall stud, but we weren’t as fortunate when trying to tie into a ceiling joist.
To have something to screw into to build a partition wall, we had to construct some blocking to extend a 2×4 above the placement of the top plate.
The new joist is extended by those short pieces of wood to a location directly over the top plate installation.
While screwing it into position, the clamps were utilized to keep everything tightly in place.
Secure Top Plates to the Ceiling:

We are currently working on the second top plate after having already screwed the first into place.
In reality, this form of non-load-bearing partition wall does not need two top plates.
The garage has a ceiling that is somewhat higher than 8′.
We determined that we could either use two top plates and cut the 8′ studs to fit, or we could have used one top plate and trimmed the longer 2x4s to suit.
We decided that using the second plate would be more sensible.
Install the Studs:

After installing the bottom and top plates, it was time to install the studs.
The first one was fastened to a side wall that already existed.
The stud was straight, according to the level!
You’re probably wondering why we didn’t use the standard toenail procedure and instead employed those plate things.
We couldn’t do it physically with our strength and skill set to be honest.
After doing some investigation, we discovered a different technique for fastening the studs to the bottom and top plates.
We needed these Simpson Strong-Tie stud plates.
To drive the nails, we utilized a Rigid pneumatic palm nailed and compressor.
This was both simple and enjoyable.
This device makes driving nails simple.
The last stage can be completed with all the studs in place.
Add Underlayment to Back Side of Wall:

The next step was to use a brad nailed to attach a thin underlayment to the backside of the wall.
FAQ- How to Build a Partition Wall?
Q1. What type of material is utilized to construct partition walls?
To divide an area, a partition wall built of durable materials such as masonry, glass, and metal sheets is employed.
Depending on the material and type of construction, it can either carry the load and offer support or it can’t carry any load and needs additional support.
Q2. What are the two main designs for partition walls?
Partition walls can be solid or framed buildings, frequently composed of brick or blockwork.
The frames for framed partition walls can be formed of wood, steel, or aluminium.
The plasterboard, wood, metal, or fibreboard are then placed on top of the frames.
Q3. Can you put weight on partition walls?
Rooms are separated by partition walls, which do not hold any weight.
Walls that are bearing also support a segment of the house in addition to acting as partitions.
Bearing walls are essential structural elements that carry the weight of the roof and higher levels to the foundation.
Conclusion:
There are many various ways to build a partition wall, as you’ll discover when you start reading instructions.
Using the data, we determined how to accomplish this given our abilities, physical strength, and the instruments at hand.
We did not require a permit to construct our partition wall, but you should always check to see whether permits are required in your area.