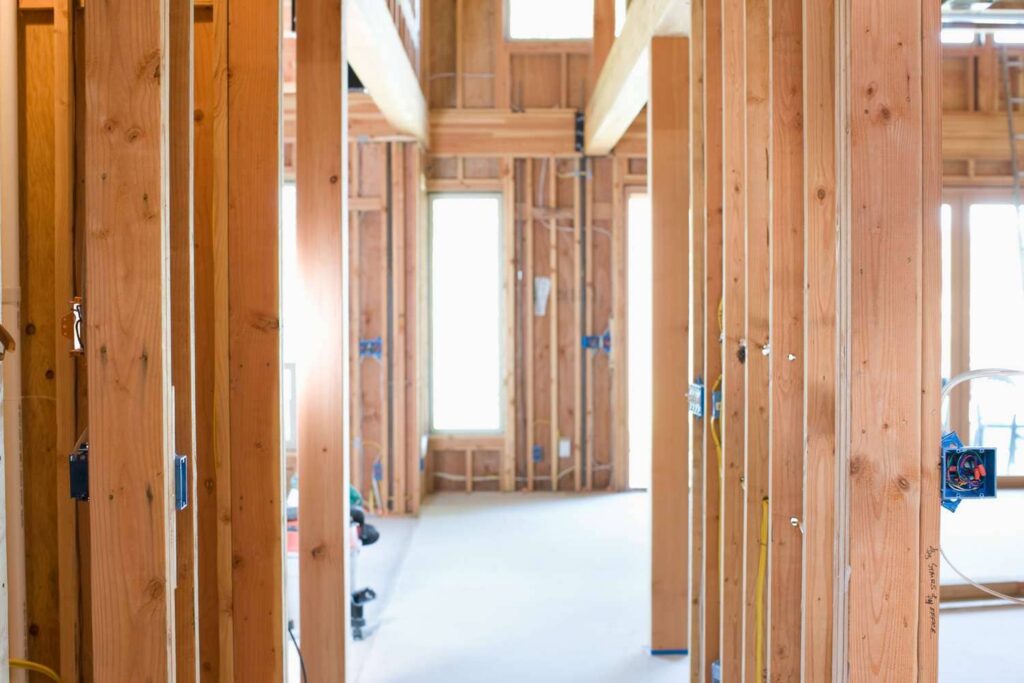
Wall stud are additional studs that are reinforce next to primary studs.
It is typically used to strengthen a stud that has sustained damage or is bowing in a way that jeopardizes its ability to support loads.
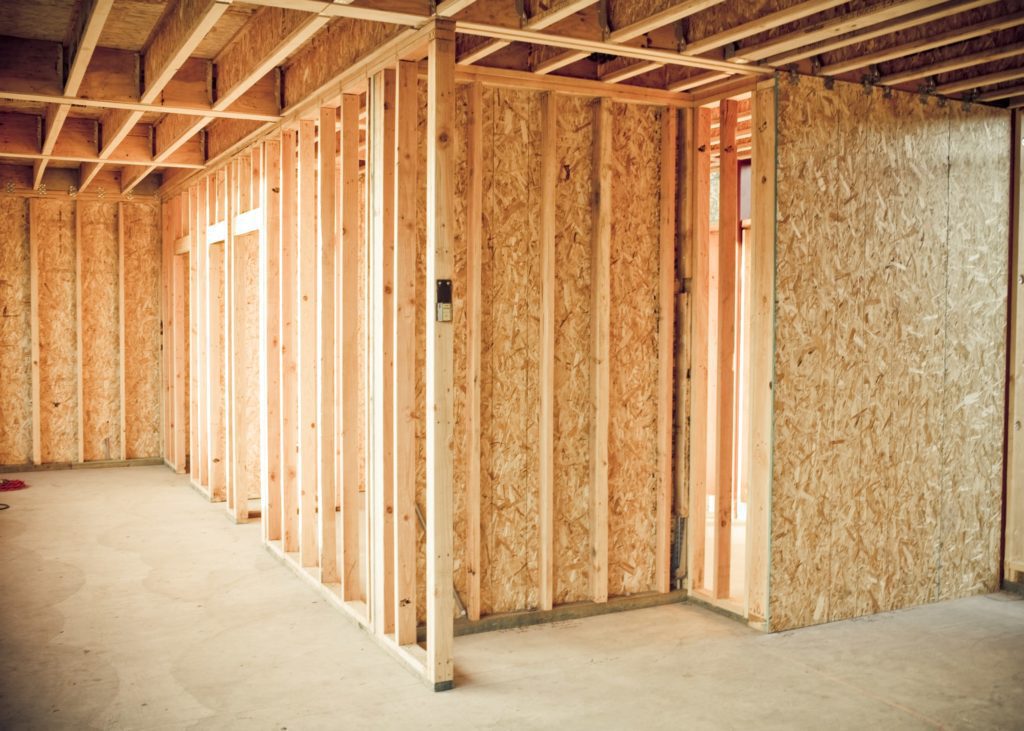
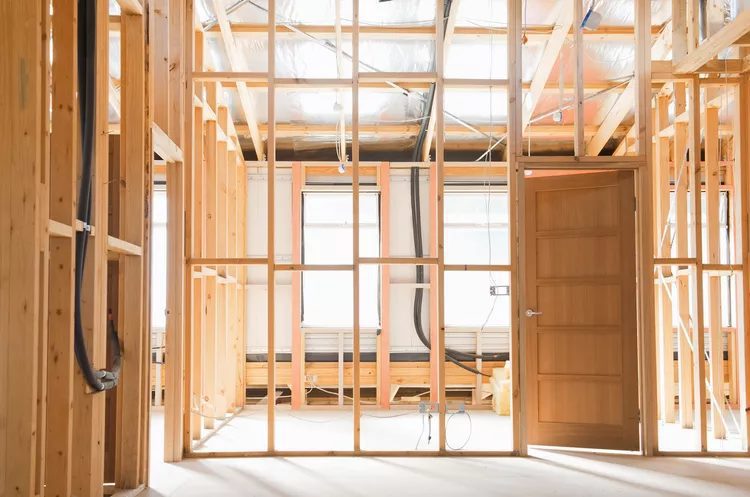
A wall stud is essentially a vertical structure that runs through a wall often made of wood.
A damaged stud might be an issue because it seriously weakens a wall.
The key concern is whether the wall is a load-bearing wall except for corners and doors, studs are typically placed every 16 inches.
Cutting a sizable hole in your drywall is required to repair a damaged wall stud.
Sistering can also be used to strengthen rafters or floor joists that have not been damaged.
When adding a huge whirlpool tub, sister joists may be used to boost the load-bearing capacity of the floor to support the additional weight.
Load-Bearing Studs Vs Non-Load-Bearing Studs:
Load-bearing walls are those that bear the weight of the roof or floor above them.
Non-load-bearing walls are often internal partitions that don’t support the weight of the structure from above.
Non-Load-Bearing Studs:
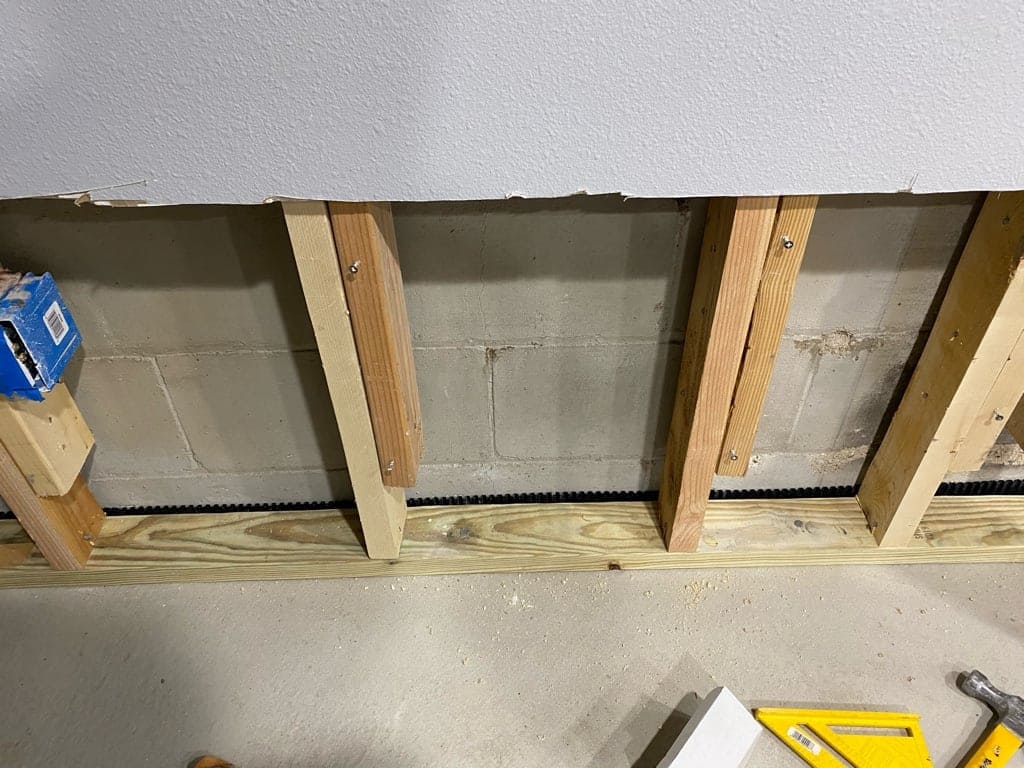
For non-load-bearing partition walls, a parallel can be made by simply attaching a length of frame wood next to the broken stud with screws, bolts, or nails.
It acts as a kind of reinforcement splint for the weak point in the stud.
The parallel stud doesn’t need to be a full-length stud when using non-load-bearing studs.
The parallel stud (or section of the stud) must be fastened to the current stud at least every 8 to 10 inches.
Load-Bearing Studs:
Most construction codes prohibit sistering with a partial stud in load-bearing walls.
A replacement full stud that reaches from the bottom plate or sole plate of the wall to its top plate is required in this situation to fix a damaged stud.
It is necessary to secure the sister stud to the injured stud, both plates.
By supporting the weight of the entire load-bearing wall from ceiling to floor, the parallel in a load-bearing wall effectively replaces the damaged stud.
It takes up some of the framing support that the damaged stud left behind.
Additionally, it enables you to avoid the somewhat dirty task of removing existing studs.
An old wall stud is reinforce into positions at the top and bottom that can be secured to the siding with numerous nails or screws.
How to Sister a Wall Stud?
In a wood-framed building, “sister” refers to putting a similar piece of lumber alongside a damaged part to restore structural support.
If you open up a wall and discover a split or broken stud, you can sister it to avoid having to remove and replace it.
Frequently, the task is finished promptly.
- Calculate the distance from the cracked or split stud’s one side to the subsequent stud in the wall.
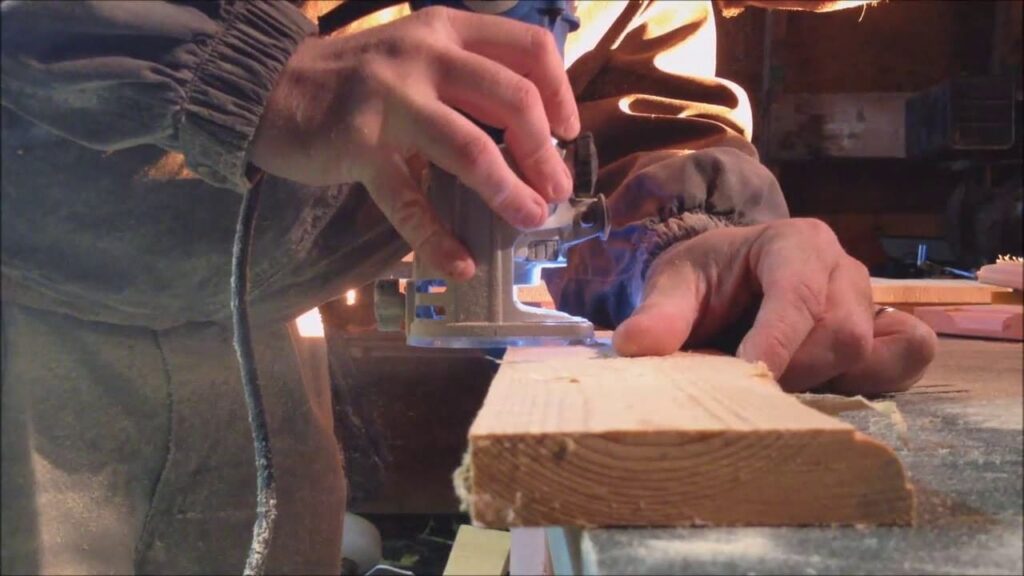
- Use a circular saw to cut two pieces of two-by-four or larger framing lumber for the horizontal support blocks.
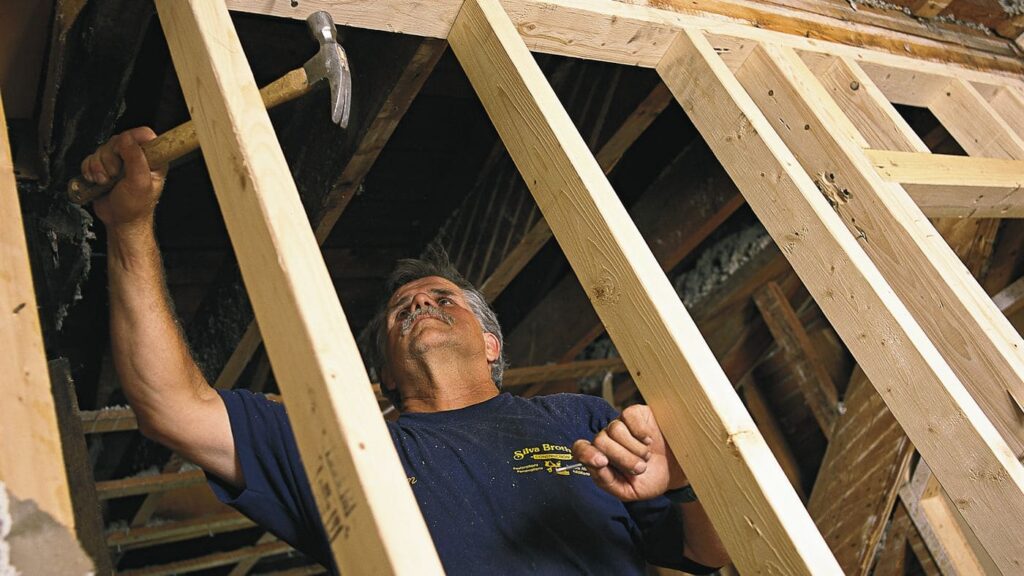
- By using a framing hammer to drive two 16d framing nails into each end of one of the blocks, attach it between the studs 12 inches above the damaged area.
- Set the additional block 12 inches below the damaged area.
- Make a sister stud from timber that is the same size by measuring the damaged stud between the top and bottom plates in the wall.
- Use framing nails spaced 16 inches apart to fasten the sister flat against the damaged stud’s face.
- If necessary, utilize a stepladder to access the sister’s upper level.
Tips for Reinforce a Wall Stud:
Cut Sister Board Long Enough:
The replacement piece of material in non-load-bearing walls should extend well beyond the degraded section in both directions, even though it need not be as long as it was before.
Aim for an extension of between one and two feet above and below the damaged region.
Sister Only One Side:
One side of the stud only has to be sistered.
Not both sides need to be sistered.
Even though you have the choice of using a second two-by-four, the additional structural support it would provide would be little.
Holding Stud While Nail:
Due to the stud’s lack of a strong nailing surface, nailing onto a two-by-four that has been damaged can be challenging.
As you hammer, the stud may tremble or fall apart.
As you hammer in the sister stud, controlling movement will be made easier if you are holding a large weight on the opposite side, such as the anvil or sledgehammer head.
Check the stud for replacement:
Make sure the damaged stud has sufficient solid material so you can attach the replacement stud to it.
It is advisable to remove the old wall stud and reinforce it with one or more new ones if it has little structural value or is rotted or insect-damaged.
Replacing the Fire Blocking:
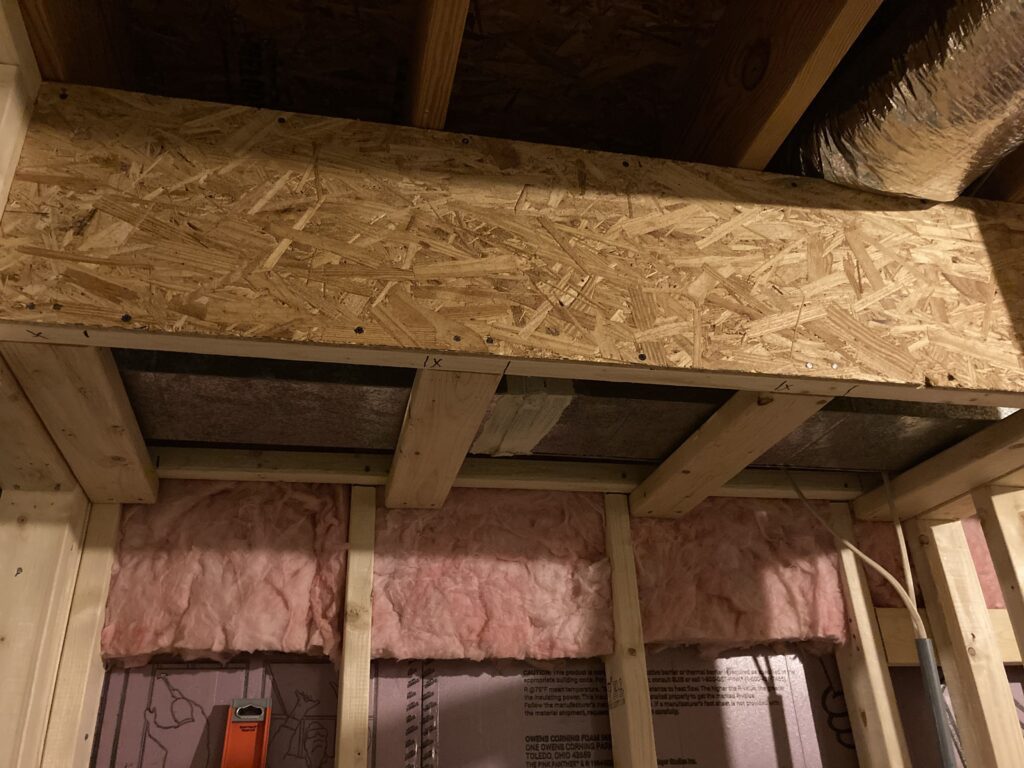
To make way for a full-length sister stud, horizontal fire-blocking that is present in the stud cavity of the wall must be removed.
The replacement fire block must be cut to size and placed again when the sister is put in place.
Due to the altered width of the stud bay, the following fire block will be 1-1/2 inches shorter than the one before it.
Instead of using the previous two-by-four, use the new one to cut the replacement fire block.
Insulation replacement:
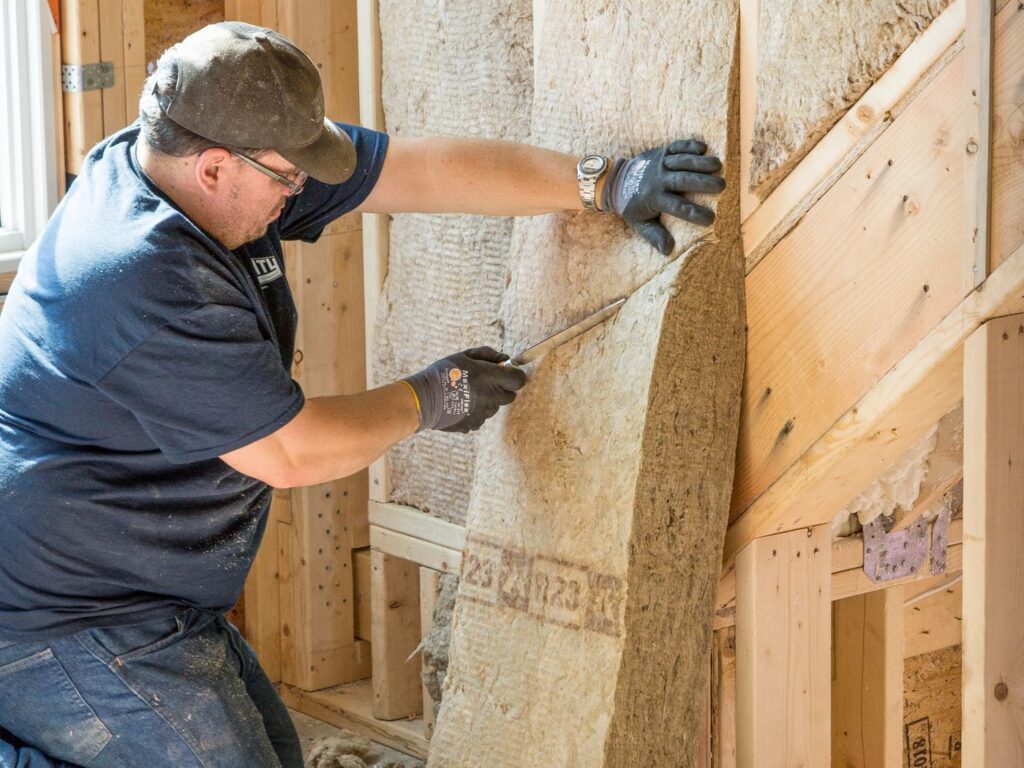
Having been sistered, exterior wall studs have insulation surrounding them.
You must carefully remove the insulation from the wall studs by prying off the staples and keeping them there.
Then, you must set the insulation aside.
The insulation may be reused if it is in good condition.
Cutaway 1-1/2 inches from the side of the insulation to make room for the sister stud.
Keep the material that faces the paper in place.
Look for larger issues:

While it does occasionally occur, it’s uncommon for damaged wall studs to be the only issue.
Make sure a bigger issue hasn’t forced the need for this sistering job.
The root cause of substantial foundation settling, water intrusion, dry rot, and insect damage must be treated before the wall structure is restored.
FAQ- How to Reinforce a Wall Stud:
Q1. How can I make my wall studs stronger?
Pick stronger wood.
Instead of 2×4, use 2×6 or 2×8.
Sister or double the 2×4 Instead of 16, 19, 2, or 24 inches, place a stud every 12 inches.
Place a block between each stud (ex: at 4 feet on an 8-foot wall).
This considerably raises the support (column) capacity of the stud.
Depending on the circumstance, there are numerous choices.
If the situation becomes that complicated, you might want to contact an engineer for advice on the best solution.
Q2. Is it possible to shim a wall stud?
Drywall shims are dead-easy, inexpensive cardboard strips that are precisely proportioned for studs—far from being technical marvels.
Partially shimming such bent, twisted, and bowed studs is advantageous.
It is possible to shim a stud that is too far back now and then.
Q3. What should be done if the studs are too far apart?
The simplest approach to solve this issue is to first place an appropriate piece of 3/4″ plywood on the wall so that it extends to studs that can be firmly fastened.
Following that, the TV mount can be attached to the plywood using appropriate screws that fit into appropriately sized pilot holes.
Conclusion:
When building a stud wall, just as you require a bottom plate, you also need a top plate.
In the United States, 2′′ by 4′′ studs that are eight feet long are typically used to build stud walls.
You can sister each stud with a second stud wedged tightly to each stud if you need to reinforce a second floor or extra load-carrying capability but must leave a stud wall in place.