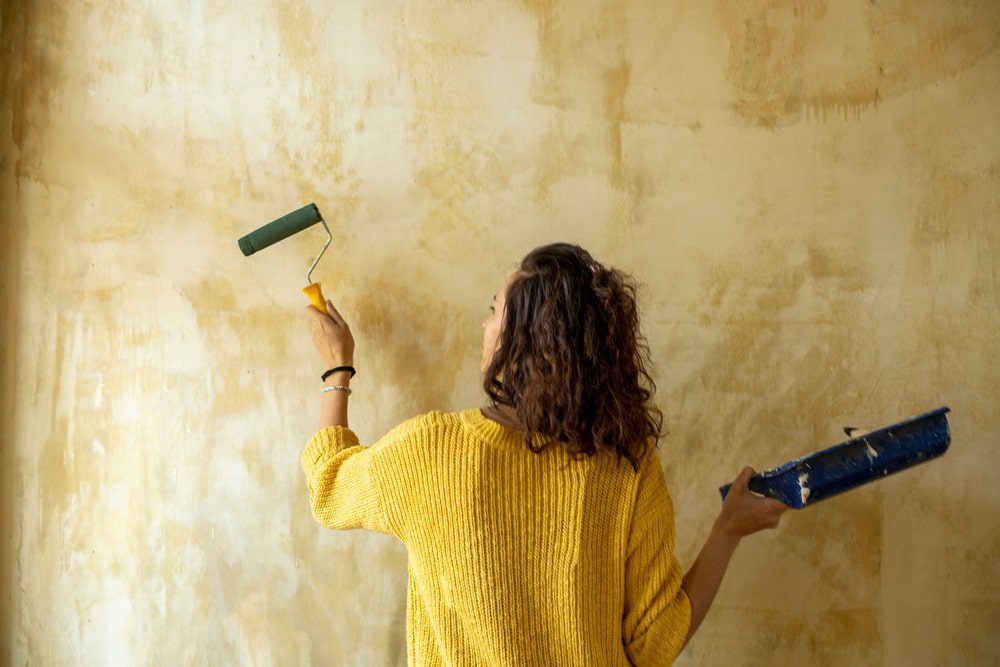
Wall texture with a roller is frequently used for practical reasons.
If given the choice, many residents would want smooth, glass-like walls and ceilings.
Smooth surfaces enhance the visibility of paint colour in addition to being the current popular style.
The surface appears brighter because there aren’t any bumps to cast shadows on it.
The benefit of wall texture can be applied quickly, as opposed to the seemingly endless cycles of mudding, drying, and sanding drywall compounds.
With its ability to conceal flaws in drywall or mudding work and its quick drying time, painting can start just hours after applying wall texture.
And a lot of homeowners like the natural appearance of textured walls.
The best part of drywall compound and a paint roller may be used to create wall texture typically applied with electric texturing equipment.
Texturing a Wall- Texture Machine Vs Roller:
A professional painter uses an electric texture sprayer to add textures to walls and ceilings.
These devices let users add texturing compounds to a hopper, where the machine adds water and air.
If you need to texture a sizable region, the hopper is a superior choice.
The machine uses a spray gun to apply texture to the surfaces at a rate of one to three litres per minute.
The spray-on texture applies and dries quite quickly.
DIYers rarely profit from utilizing an electric texture sprayer that costs more than $2,000.
An efficient, affordable substitute is a regular paint roller mounted on a roller cage.
Although the application process is much slower than with an electric sprayer.
It is simpler to regulate and sometimes a viable choice for smaller areas or repairs.
The paint roller technique can produce knock-down and orange peel effects, just like the electric texturized.
Analysing Wall Texture:
Wall texture is a material that is thinner than a plain drywall compound but thicker than paint.
Small shadows are produced by the bumps and depressions in textures applied to walls and ceilings.
Although shadows tend to disappear under direct light, they extend as the light source moves at a steeper angle to the wall.
This gently darkens the wall by changing the surface’s general shade.
Surface flaws are effectively concealed by this darkening effect.
Wall texture can greatly aid in concealing any noticeable seams, bulges, depressions, or other flaws in your drywall.
The fact that ceilings receive the most light makes it difficult to conceal flaws, so they are commonly texturized.
Steps to Texture a Wall with a Roller:
Using a roller to texture a wall is a messy technique, sending wet texture material flying everywhere.
Even the most careful painter must protect the flooring and nearby wall surfaces, including the trim around the doors and windows, when stippling a ceiling.
Use plastic sheeting to cover vertical surfaces and drop cloths for the floor.
Painter’s tape should be used to hang the plastic sheeting.
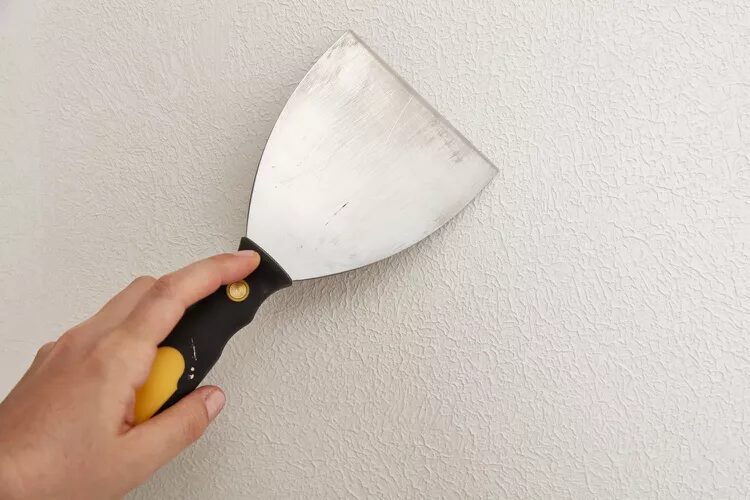
1. Repair Surface:
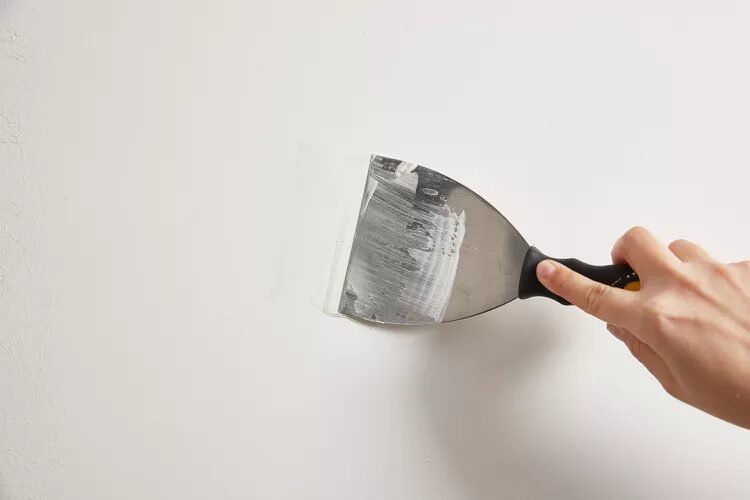
There may be some wall and ceiling surfaces that need to be corrected before using the stipple texture.
To fix any holes or chips, use either thin spackle or drywall compound (mud).
Your drywall knife will seem smoother if you force the compound into the hole with it before swiftly swiping it across the area.
If you work on this for too long, the texture material will cover it.
The majority of the time, a simple drywall knife smoothing will do.
2. Prime Surface:
Apply a coat of flat white enamel paint or drywall primer.
Allow it to dry.
Because texture paint applied directly to bare drywall will absorb into the wall surface, your efforts will be undermined, so this primer is required.
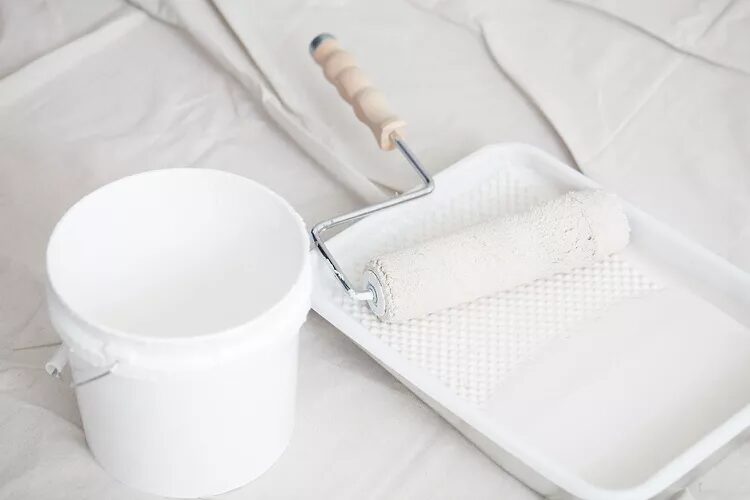
3. Combine Texture Compounds:
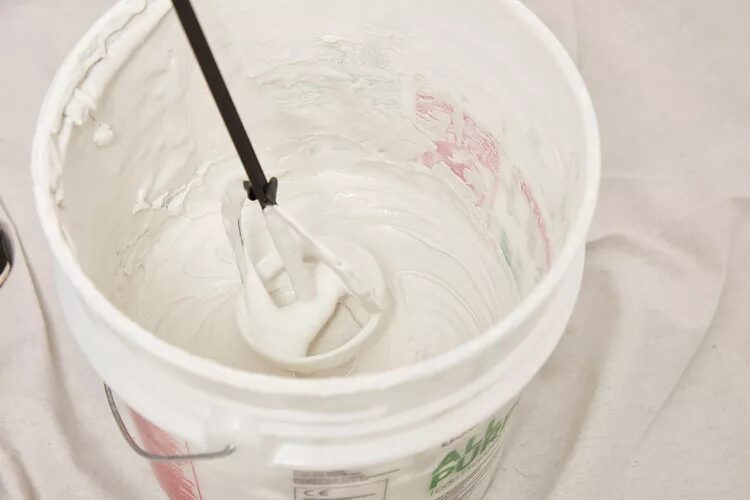
To create your own low-cost wall texture material, dilute drywall compounds with water in a 4:1 ratio.
A drill attachment and a 5-gallon bucket should be used to thoroughly mix the texture compound.
Blend the ingredients until it resembles thick latex paint.
It should be flexible and easy to roll on.
An alternative is to purchase pre-mixed texture paint.
Popular products include Behr Premium Plus Texture Paint and Sheetrock Texolite.
Before using the paint, thoroughly stir it, as advised by the manufacturer.
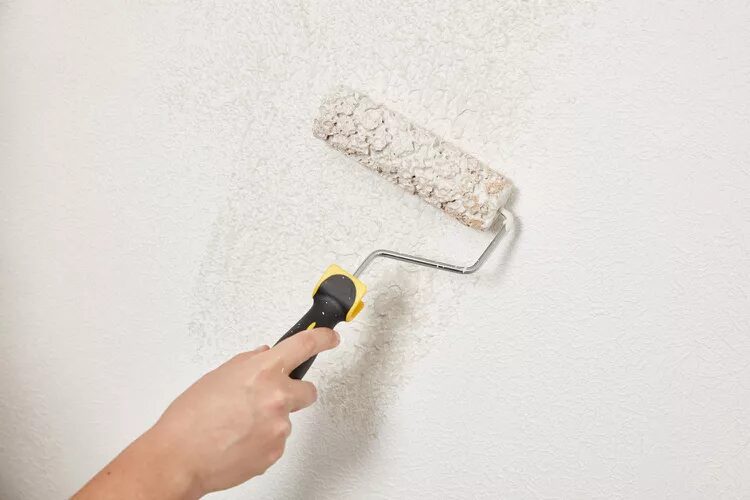
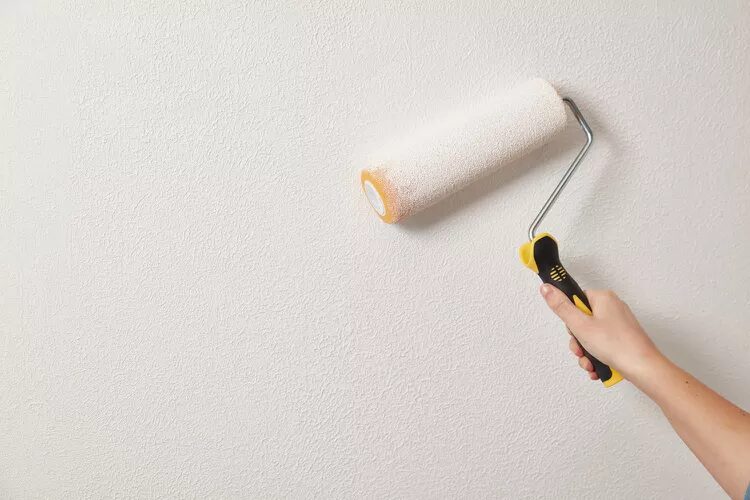
4. Roll Out Wall Texture:
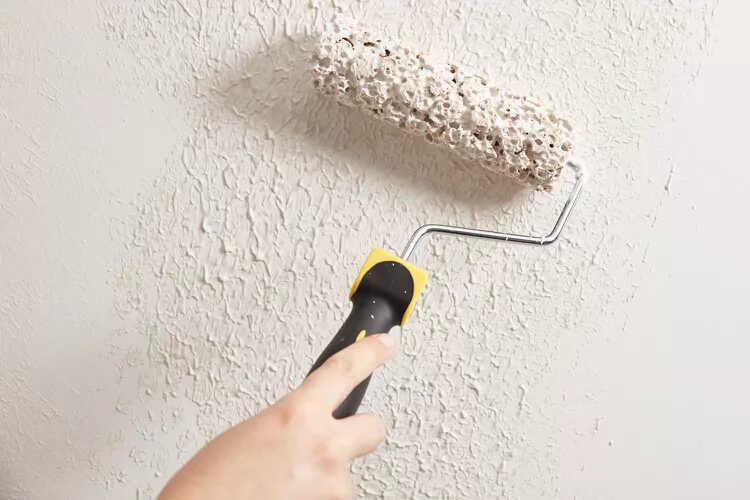
Texturing is a two-step method that requires first applying the material and once it has half dried, rolling over it again.
Getting the time right is the process’ most challenging challenge.
Put the texture substance or texture paint onto a paint tray.
Using a paint roller that has been dipped into the paint tray and then rolled out, apply the texture to the wall or ceiling surface.
There are specific roller covers created for stippling that are also available, although a standard roller cover will produce a texture.
When using professional texture paint, be sure to follow the product guidelines as the manufacturer can suggest a single application.
5. Use Brush to Access Tight Spaces:
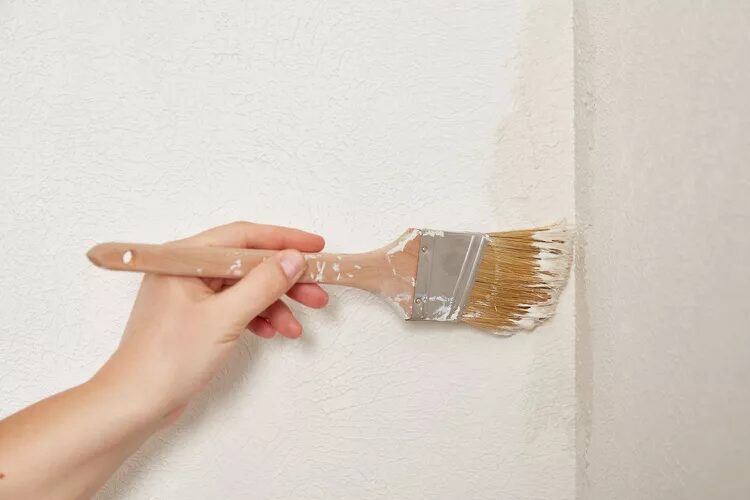
Applying the material with the flat face of a paintbrush completes the texturing in areas such as the corners where the roller cannot go and where edges surround woodwork.
6. Dry the texture:
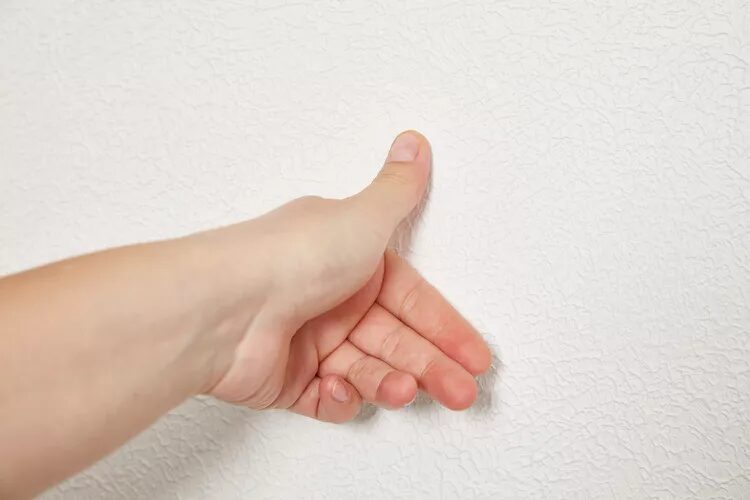
Allow the texture to dry until it reaches the desired dryness.
You can test for dryness by inserting your thumb into the surface and pulling it out.
Sharp, almost meringue-like spikes should emerge as a result.
7. Second Texture:
Roll over the surface once more after the texture material has dried to the appropriate consistency.
This will create the desired three-dimensional texture by slightly pulling up the partially dry material.
Use a paintbrush with a flat face to lift the material just a little bit off the surface in areas where the roller cannot reach.
8. Create a Knock-Down Surface (Optional):
You have the choice to smooth a drywall knife across the texture before the surface is entirely dry to knock down the surface.
This gives the surface’s peaks a slight flattening and texture like plaster.
Again, the texture substance must have the right consistency.
Too much moisture will cause the texture to smear, and too little moisture will prevent it from knocking down.
9. DIY Textured Paint:
If you make your drywall mud combination for the texture of a wall with a roller, allow the surfaces to completely dry before priming and painting them as you choose.
10. Call a Professional:

When applying wall texture to large areas, it is normally best to engage a painter or decorator who will use an air compressor-powered electric texture sprayer.
With texture sprayers, you can create knock-down, spatter, and orange peel effects.
Application happens quickly, and drying happens in a matter of hours.
Tips For Texturing a Wall with Roller:
- Use a thin-nap roller cover as a thick-nap roller cover gathers up too much texturing compound and makes rolling out difficult.
- Since spread-out drywall compound dries quickly, move rather swiftly.
- Have an assistant follow you while applying the material to produce knock-down effects.
- If a thick wall texture is drying too slowly, put up the heat in the space or run a low fan to speed up the drying process.
- To emphasize the depth of the effects, smooth eggshell or satin paint can be put over textured walls or ceilings.
- A touch-up spray is available to fix popcorn or acoustic ceilings.
- For tough texture projects, powdered texture compounds work best.
FAQ- How to Texture a Wall with a Roller:
Q1. What type of paint roller produces the most texture?
Lamb’s wool, mohair, and other comparable natural fibres work best with more textured surfaces or oil-based paints.
Q2. Is there a difference in the nap of a paint roller?
The more paint a roller can handle, the thicker the nap or length of the material.
The roller is made for rougher surfaces, the rougher the nap.
The roller’s nap should be as low as possible depending on the smooth finish.
Q3. How many uses before having to replace a paint roller?
A good roller should shed no more than five times.
It can be reused without compromising the paint application’s quality, and it will eventually pay for itself.
Use your rollers again by following these 3 easy steps: After use, scrape the roller but don’t allow it to dry out.
Conclusion:
Once you’ve learned to texture walls, you may use the techniques to add decorative appeal anyplace in your home.
The texture wall with the roller is a low-cost, do-it-yourself project that requires minimal instruments.