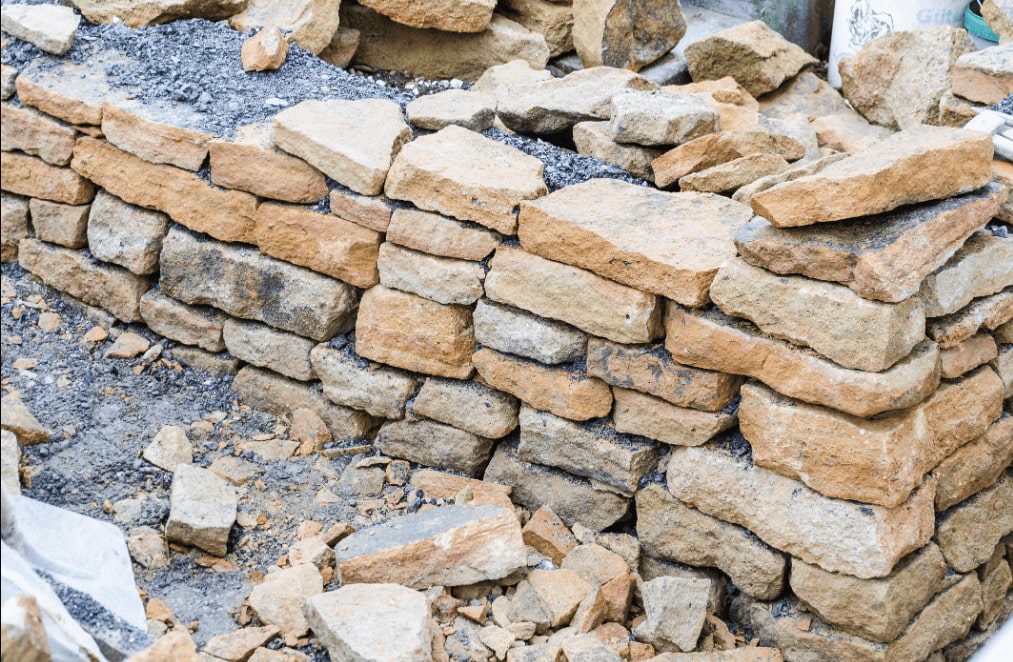
The stone wall is useful to build walls with mortar but they are a type of architectural feature that deserves a second look.
These classic versions of fences make a statement that’s both casual and dignified with their stacks of who-knows-how-old stones.
They give even the most recent landscape a sense of originality because of the inflight of permanence they exude.
However, masonry has a reputation for being expensive.
You can read the DIY approach and learn to build a stone wall with mortar over a long weekend using our step-by-step instructions.
So, Let’s begin!
11 Steps to Build a Stone Wall with Mortar:
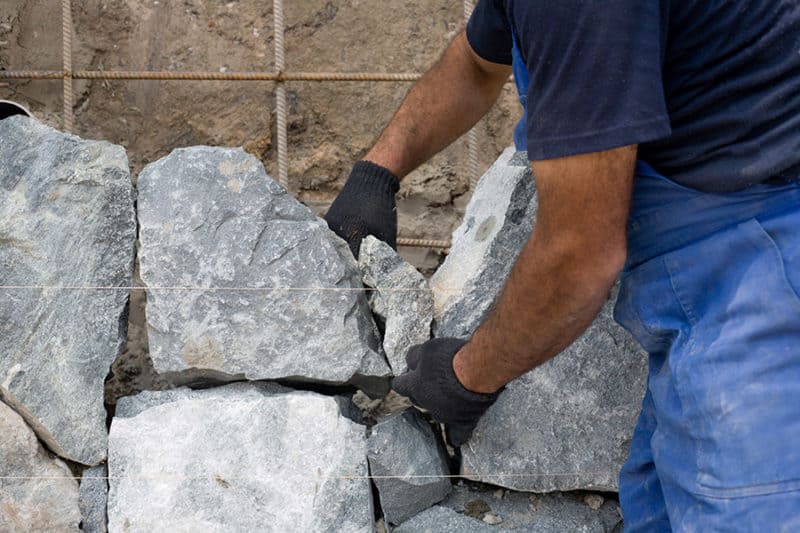
1. Choose your stones:
Select stones with contrasting textures and colours that work well together.
Uncut rubble, semi-dressed stone (cut into roughly rectangular shapes), or ashlar (a stone that has been carefully squared and trimmed) are also acceptable materials.
Keep in mind that uncut fieldstone takes longer to set up because it takes more trial and error to get the courses to fit together.
Deliver the stones closer to your construction site.
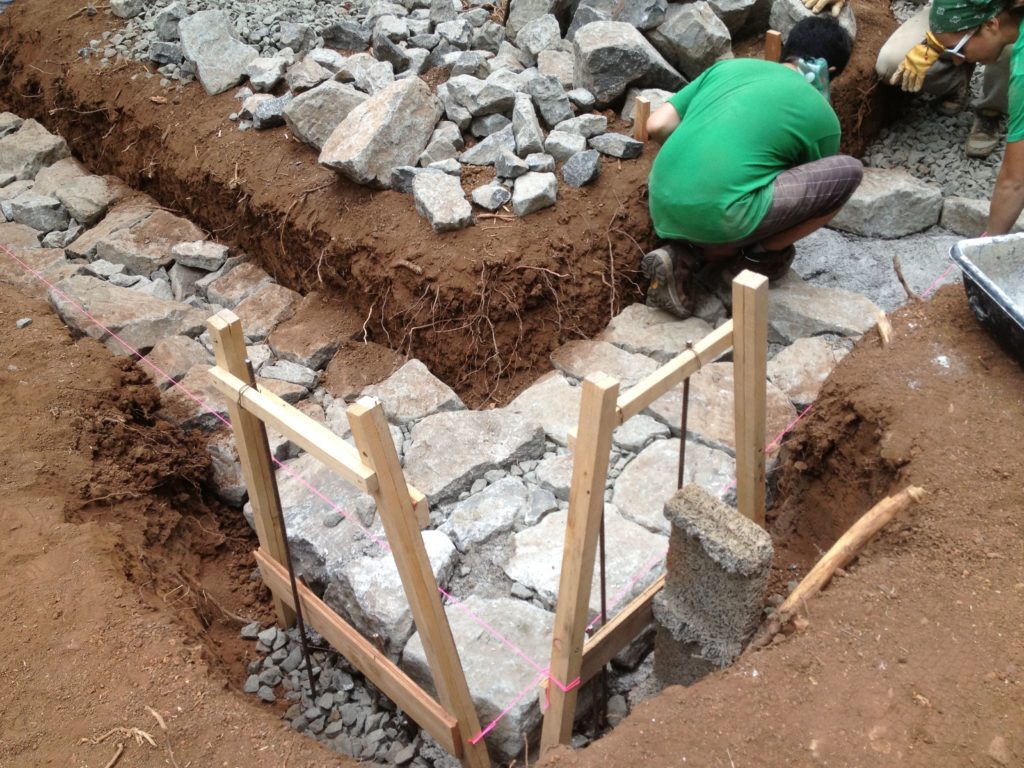
2. Layout and pour footing:
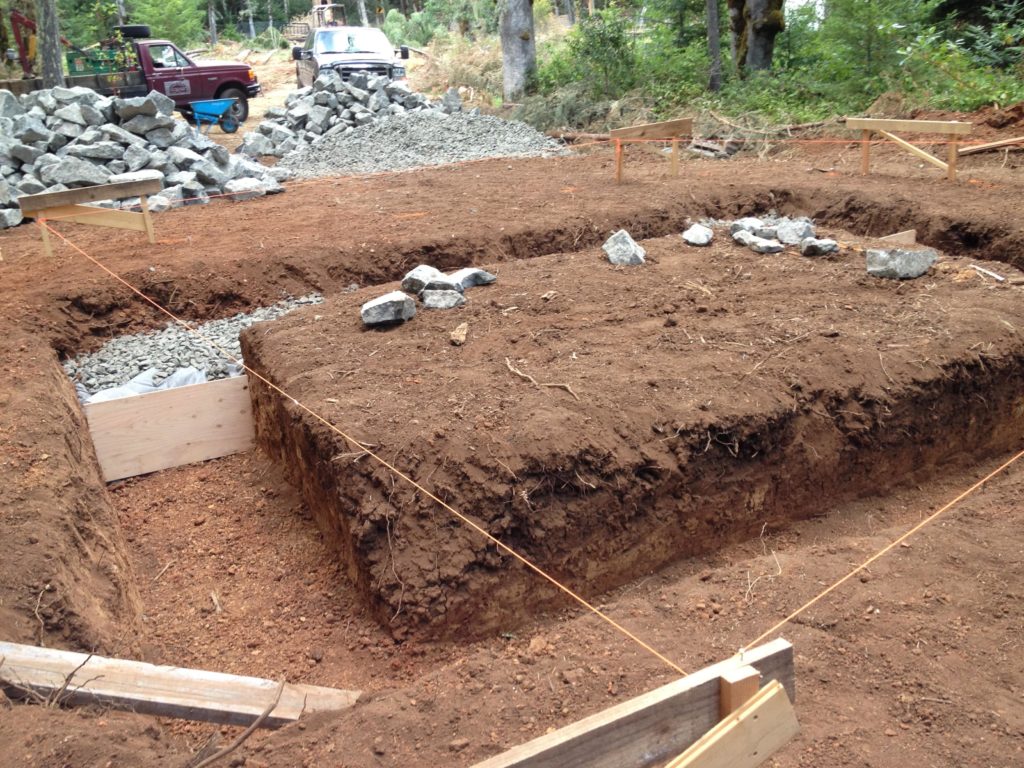
A mortared wall must be built on a strong foundation to prevent cracking of the joints.
Dig a trench, approximately 6 inches wider than your wall.
For a 3-foot-tall fence, it should be at least 12 inches deep and deeper than the local frost line.
Place gravel in the bottom of the trench, pour at least 8 inches of concrete over it and finish 2 inches below grade.
Although it will take a few weeks for the concrete to fully cure; once it’s set overnight, you can usually start construction the next day.
While the feet are dry, sort the stones by size.
3. Dry-set the first course:
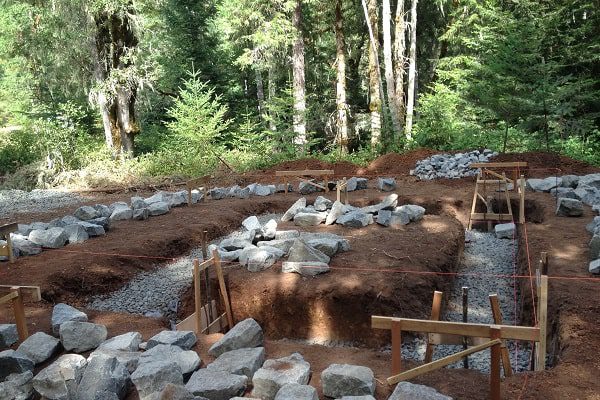
Dry-set the first course, starting with bond stones (stone as wide as the wall) and then every 4 to 6 feet.
Place stones that fit perfectly into the bond stone on the ground.
Plan the arrangement so that flat-faced stones line the edges and square stones are placed in the corners.
Use the largest you can find while maintaining a somewhat uniform size.
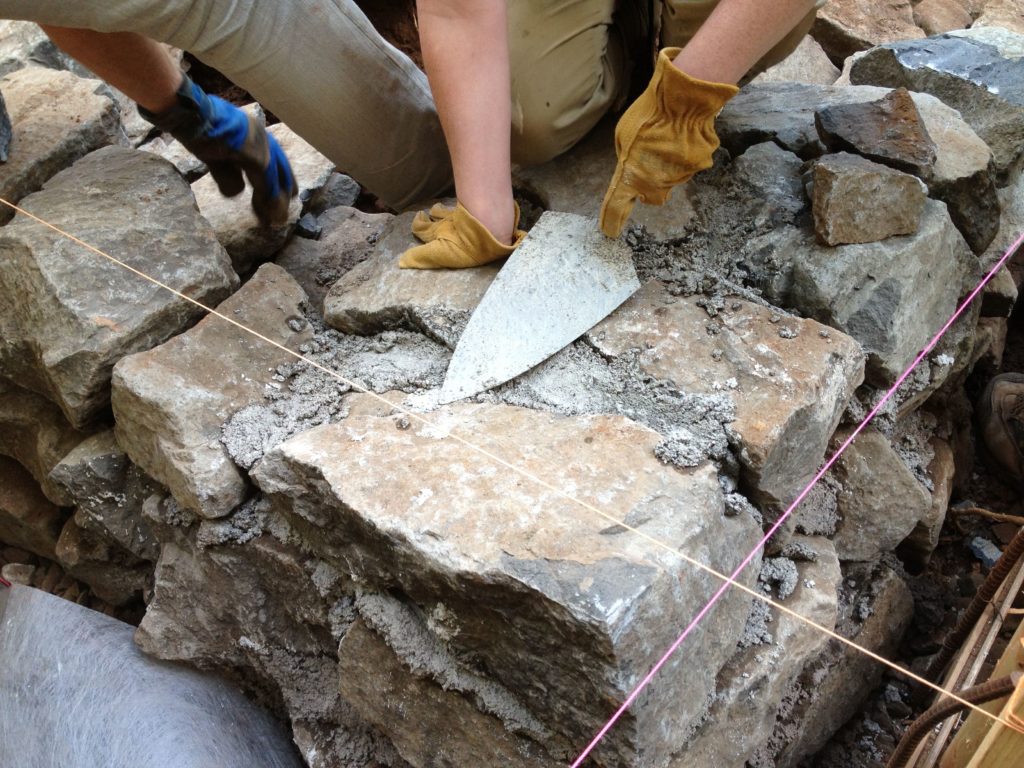
4. Lay the first layer:
Remove 3 to 4 feet of stones from the first course and place them aside in the same arrangement.
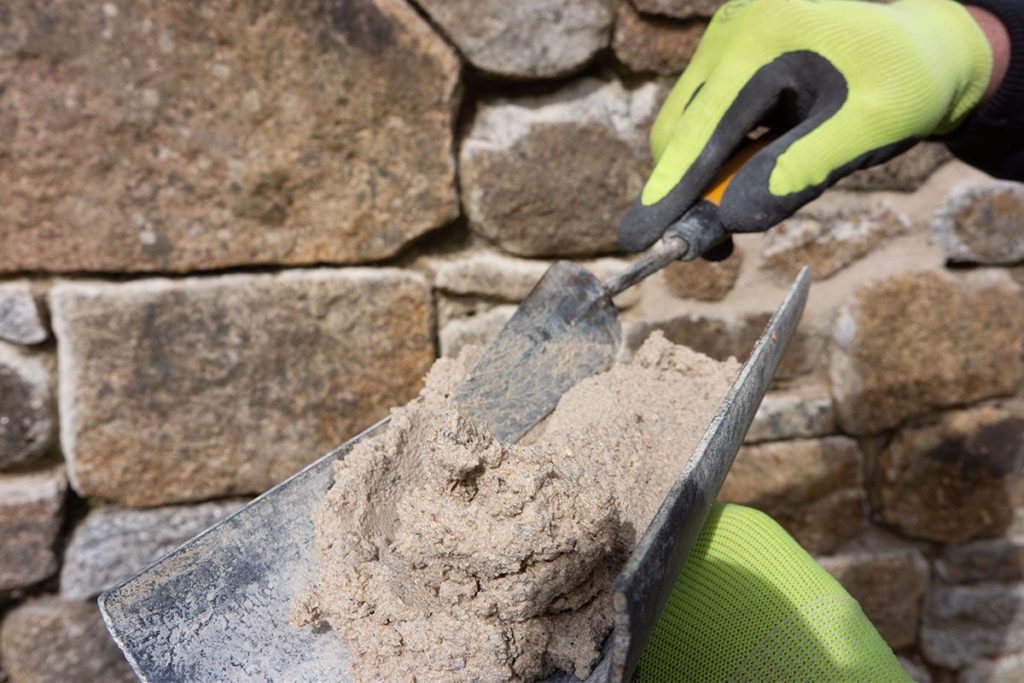
On the base, apply mortar liberally in a layer at least 1 inch thick.
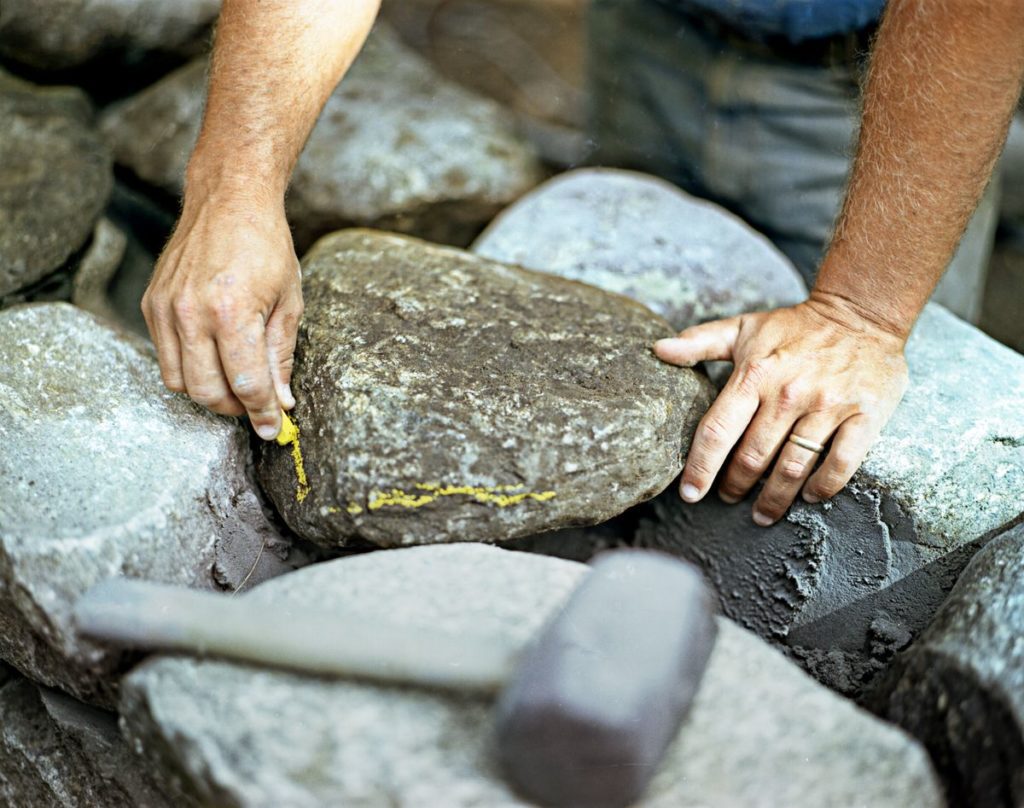
With a rubber mallet, reposition the stones and place them in position.
5. Continue laying the first course:

Endure removing the stones, applying mortar to the base, and setting the first course stones back into place.
With small stones and mortar, connect the front and back (the wall’s exterior sides.
To make sure the stones are nearly level, use a 4-foot level above them.
The level will give you a rough estimate due to the unevenness of the stone surface.
6. Pack Mortar:
After completing the first course of short walls fill the joints with mortar.
Add a small piece of stone or rubble to fill any gap in the wall core that is more than 12 to 34 inches wide.
Depending on large the debris size, you may need to fill the core in layers.
For cores, smaller debris is preferable.
7. Make a guide:
Place stakes on the ground beyond the footing at both ends of the wall and fasten a mason’s line between them.
Use a line level to make sure the line is level and set it to the following course elevation.
Adopt this booklet for each course.
8. Second Course:
Dry the second course for both Wyeth by selecting stones from the piles you made after sorting them by size.
Select stones placed about half an inch below the stacked mason line, these stones should be taken out and placed in the same order.
You can start building your wall using leads, the spaces between each lead can fill as a brick or block wall.
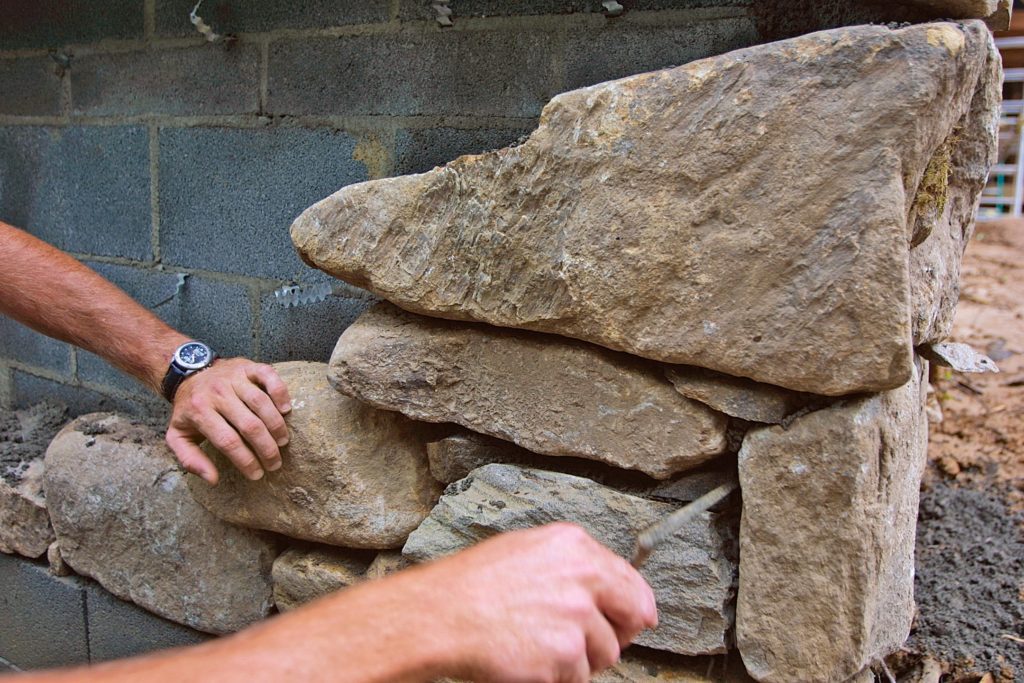
9. Continue setting the course:
Set more courses as you increase Mason’s line as you go.
For exposed wall faces, only flat, smooth stones should be used.
Spread the mortar moving forward, one stone at a time, using enough mortar to create a bed for each stone.
Then cement the stones in place, then while testing the dough along the way, dry-fit the following row and reset it.
If you wet your mortar slightly, do not set more than three courses per day.
The weight of the stones will cause the pathways to fall before the mortar sets (this is a subtle angle in the stone wall with the top slightly narrower to prevent it from falling).
When the mortar begins to set, stop placing stones and finish the joints.
Cap the wall with flat stones large enough to cover both sides.
Do not finish the joints while mortaring the capstone.
Place bond stone every third course at about 4-foot intervals.
To prevent water from pooling and freezing where it could damage the mortar or stone, brush it onto the surface of the capstone.
10. Smooth strike joints:
When the mortar begins to set, use a stiff brush or a broom to remove excess material.
Use a concave jointer to crush and smooth the mortar until it is firm enough to support the fingerprint.
After giving the mortar a little more time to dry, brush again as needed.
11. The final stage:
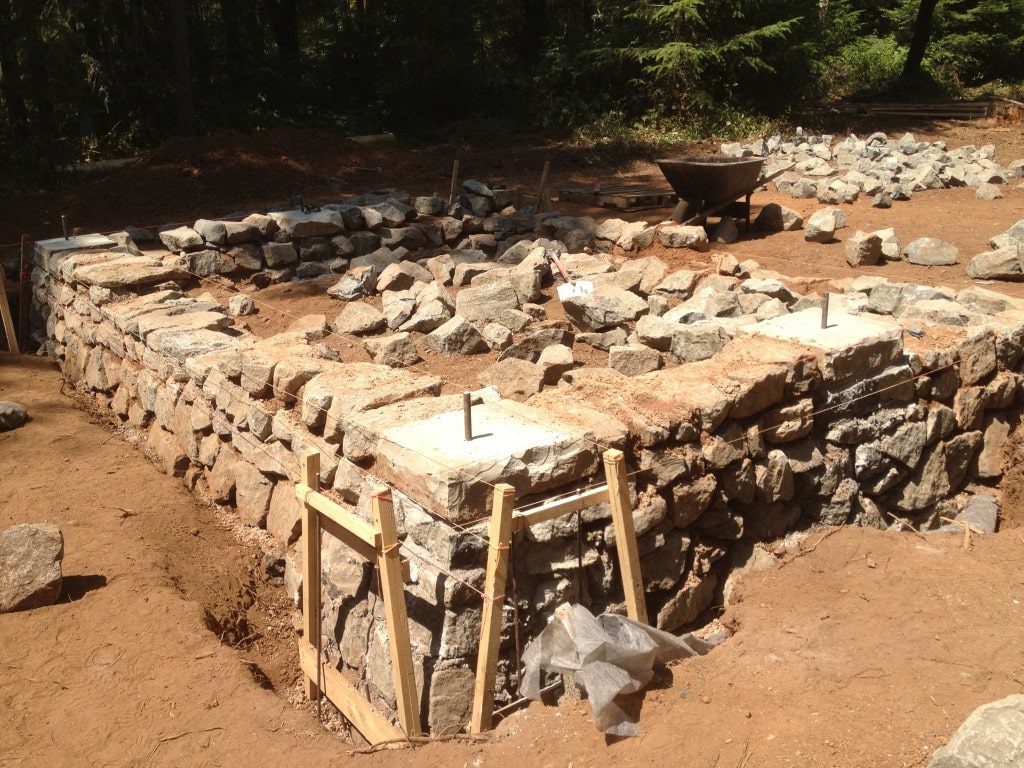
As you add more layers, extend Mason’s line to keep the other layers even.
To build a perfect wall, choose flat and smooth stones.
After combining the mortar and stone wall, use a brush to remove any excess material.
Benefits of Mortared Stone Wall:
Installing a mortared stone wall in your driveway, garden or backyard has many benefits as follows:
- Increases the value of your home.
- It is easy to maintain and clean.
- Protects your home from extreme weather.
- Good heat regulation is ensured.
- It is organic and natural.
- It is durable and robust.
FAQ- How To Build a Stone Wall with Mortar:
Q1. How should I mortar a stone wall?
Due to its strength being comparable to that of natural stone, Type M is ideal for use with it.
Q2. How thick mortar should be used for stone?
When installing stone veneer, a conventional mortar joint of 25″.
The most common mortar type is 50″, but some architectural elements and stone textures are better suited for a narrow or wide mortar connection or even that is excessively grouted.
Q3. What mortar mixture has the highest strength?
The proper ratio for mixing would be 1 cement, 1.5 sand, and 1 gravel stone with 0.4 water.
The mortar will become more porous (leave holes) if you add more water, and it won’t hydrate if you add less.
Conclusion:
Now you have a better understanding of “How to Build a Mortared Stone Wall” and “How to Use Mortar for a Stone Wall”, it’s time to roll up your sleeves and get to work.
Mortaring a stone wall is a great way to enhance the aesthetic of your property.
However, if you want your project to be successful, you must first organize the layout so that the flat stones are border and the square stones are in the corners.
Section Under: